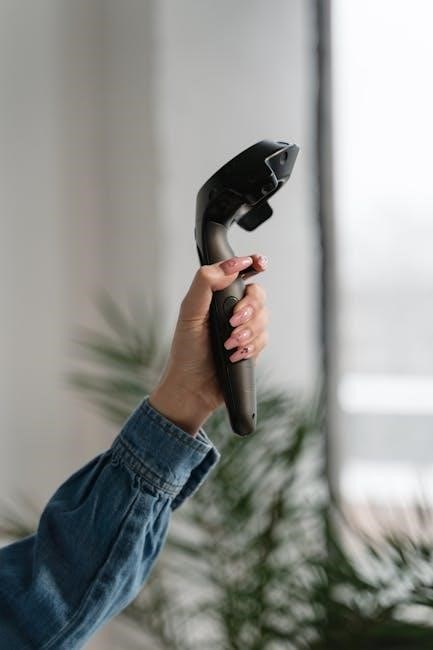
The Real Flame remote control offers convenience and ease of use for your electric fireplace. It allows seamless operation, including turning the fireplace on/off, adjusting heat settings, and setting timers. Designed for compatibility with various Real Flame models, it enhances your fireplace experience with intuitive controls and advanced features.

Understanding the Remote Control Components
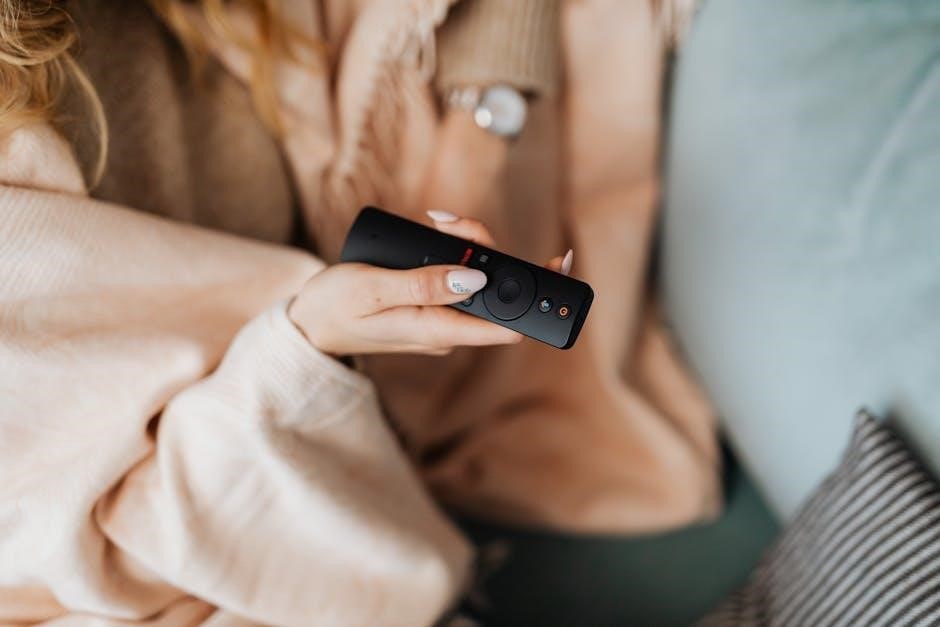
The Real Flame remote control features a sleek design with essential buttons for power, heat adjustment, timer settings, and ambient light control. LED indicators provide feedback, ensuring smooth operation. Its intuitive layout simplifies managing your fireplace experience.
2.1. Identifying Buttons and Their Functions
The Real Flame remote control is equipped with a range of buttons designed for specific functions. The power button is used to turn the fireplace on and off, while the heat adjustment buttons allow you to increase or decrease the temperature. The timer button enables you to set a desired duration for the fireplace to operate, providing convenience and energy efficiency. Additionally, there is a button for controlling the ambient light, which enhances the visual appeal of the flames. Each button is clearly labeled, ensuring easy navigation. The remote also features LED indicators that provide feedback, such as confirming when the fireplace is turned on or when a timer is set. Understanding these components is essential for optimal use of the remote control and your Real Flame fireplace.
2.2. Understanding LED Indicators and Feedback
The Real Flame remote control incorporates LED indicators to provide visual feedback, ensuring smooth operation of your electric fireplace. These indicators use colors such as green, red, and blue to signify different statuses. For instance, a steady green LED might indicate that the fireplace is powered on, while a flashing red LED could signal an error or that the timer is active. Understanding these indicators is crucial for diagnosing issues and confirming commands.
The remote also offers tactile feedback, with buttons that click when pressed, confirming your inputs. If an LED fails to light up after pressing a button, it may indicate low battery levels or a syncing issue with the fireplace. Always ensure the remote is properly paired and that batteries are functional for reliable operation.
By monitoring these LED indicators and their corresponding feedback, users can efficiently control their Real Flame fireplace and address any operational issues promptly. This feature enhances the overall user experience, providing clarity and assurance that commands are being processed correctly.
Installation Requirements
Ensure your Real Flame remote control is compatible with your fireplace model. Refer to the manual for specific installation steps and safety guidelines; Proper placement and a stable power supply are essential for optimal functionality.
3.1. Checking Compatibility with Your Fireplace
Before installing the Real Flame remote control, ensure it is compatible with your fireplace model. Refer to the user manual or manufacturer’s website for a list of supported models. Compatibility varies across Real Flame products, such as the PYROTECH DELUXE, LANDSCAPE 1000, and electric fireplace models like 8080E-W or 5950E-DW. Incorrect pairing may lead to malfunction or safety risks. Verify the remote’s frequency and communication protocol match your fireplace’s system. If unsure, consult the installation guide or contact customer support. Proper compatibility ensures smooth operation and full access to features like heat adjustment and timer settings. Always double-check specifications to avoid installation issues and guarantee optimal performance. This step is crucial for a seamless remote control experience with your Real Flame fireplace.
3.2. Pre-Installation Steps for Remote Control
Before installing the Real Flame remote control, ensure the fireplace is turned off and unplugged to avoid any electrical hazards. Remove any obstructions near the fireplace to ensure clear line-of-sight between the remote and the receiver. Check the remote’s battery compartment for proper installation of the provided batteries, ensuring they are securely placed and aligned correctly. If the remote requires pairing, refer to the user manual or manufacturer’s instructions for specific steps. Additionally, verify that the remote control is compatible with your fireplace model, as specified in the compatibility list provided by Real Flame. Clean the remote’s sensor and the fireplace’s receiver to prevent interference from dust or debris. Finally, ensure the remote is fully charged or has fresh batteries before proceeding with the installation process. These pre-installation steps ensure smooth operation and proper communication between the remote and your Real Flame fireplace.
Syncing the Remote with the Fireplace
Syncing the Real Flame remote ensures smooth communication between the remote and fireplace. Follow the pairing process outlined in the manual to establish a secure connection, allowing seamless control over your fireplace’s features and settings.
4.1. Pairing Process Explained
To successfully pair the Real Flame remote control with your fireplace, start by ensuring both devices are turned off. Locate the pairing button on your fireplace, usually found near the control panel or behind the unit. Press and hold this button until the LED indicator begins to flash, signaling it is in pairing mode.
Next, press and hold the pairing button on the remote control. The remote’s LED will also flash as it attempts to connect. Once the connection is established, both LEDs will stop flashing and remain solid, confirming the pairing process is complete. If the pairing fails, ensure the remote batteries are fresh and retry the process. Some models may require entering a specific code or resetting the remote before pairing. Always refer to your fireplace’s manual for model-specific instructions. Proper pairing ensures seamless communication between the remote and fireplace, allowing you to control all features effortlessly.
4.2. Troubleshooting Syncing Issues
If the remote control fails to sync with your Real Flame fireplace, start by checking the batteries. Weak or dead batteries can prevent proper communication. Replace them with fresh ones and retry the pairing process.
- Ensure the remote is compatible with your fireplace model, as using the wrong remote can cause syncing issues.
- Check for interference from other devices emitting infrared signals, which may disrupt the connection.
- Verify that the fireplace’s receiver is functioning correctly and free from obstructions;
If the issue persists, reset the remote by removing the batteries and pressing all buttons for 10 seconds. Reinsert the batteries and attempt pairing again. If syncing still fails, consult the user manual or contact customer support for further assistance.
Basic Operations
The Real Flame remote control enables essential functions like turning the fireplace on/off, adjusting heat settings, and setting timers. It provides intuitive control for a seamless and efficient user experience.
5.1. Turning the Fireplace On and Off
Operating your Real Flame fireplace with the remote control is straightforward. To turn it on, press and hold the Power button until the fireplace activates. You’ll typically hear a gentle click, and the LED indicator will light up, confirming the unit is on. For models with a timer function, ensure it’s set to the desired duration before turning it on.
To turn the fireplace off, press the Power button again. The LED will dim or turn off, indicating the fireplace has powered down. Always ensure the fireplace is plugged into a working outlet and that no obstructions block the remote’s line of sight. For added convenience, some models allow scheduling via the timer function, enabling automatic shutdown after a set period. Refer to your specific model’s guide for timer operation details. Proper use ensures safe and efficient enjoyment of your Real Flame fireplace.
5.2. Adjusting Heat Settings
Adjusting the heat settings on your Real Flame fireplace is simple and intuitive using the remote control. Locate the Heat Up and Heat Down buttons, typically marked with plus (+) and minus (-) symbols. Pressing these buttons will cycle through the available temperature levels, displayed on the remote’s LCD screen or the fireplace’s control panel.
For precise control, press and hold the buttons to increment or decrement the temperature gradually. The LED indicator will flash during adjustment, confirming the settings are changing. Some models allow switching between Fahrenheit and Celsius by holding the Heat Up button for five seconds. Ensure the fireplace is turned on before adjusting heat settings, as the heater won’t activate otherwise.
The remote also includes a timer function, enabling you to set a specific duration for heat output. This feature is ideal for maintaining a comfortable environment without constant monitoring. Always refer to your model’s manual for specific instructions, as functionality may vary slightly between Real Flame products.
5.3. Setting the Timer Function
The timer function on your Real Flame remote control allows you to set a specific duration for the fireplace to operate, providing convenience and energy efficiency. To activate the timer, locate the Timer button on the remote, typically labeled with a clock icon or the word “Timer.”
Press the Timer button repeatedly to cycle through the available time settings, which are usually displayed on the remote’s LCD screen or the fireplace’s control panel. Use the Up and Down arrows to adjust the timer duration, which can range from 1 to 8 hours, depending on the model.
Once you’ve selected the desired duration, press the OK or Set button to confirm. The LED indicator will flash briefly to indicate the timer is active. The fireplace will automatically turn off after the set time elapses. Note that the timer function only works when the fireplace is turned on. Always refer to your specific model’s manual for detailed instructions, as timer options may vary slightly between Real Flame products.

Advanced Features
The Real Flame remote control includes advanced features such as ambient light customization and heater setting adjustments, allowing for a personalized experience. These features enhance convenience and provide precise control over your fireplace’s operation and appearance.
6.1. Navigating Through Settings
Navigating through the settings on your Real Flame remote control is straightforward and intuitive. Start by pressing the Settings button to access the menu. Use the Up and Down arrows to scroll through options like ambient light, timer, and temperature settings. Once you select a feature, press OK to enter its submenu. Adjustments can be made using the same navigation buttons. For example, to customize the ambient light, press Up or Down to increase or decrease brightness. The Left and Right buttons may also be used for additional customization in some models. Ensure to press Save or exit the menu by pressing Back to avoid losing your changes. The LED indicators will provide feedback on your selections. Familiarize yourself with the layout to efficiently explore and customize your fireplace settings for a tailored experience.
6.2. Customizing Ambient Light
Customizing the ambient light on your Real Flame fireplace is a great way to enhance the visual appeal of your space. To access this feature, navigate to the Settings menu using the remote control and select Ambient Light. Use the Up and Down arrow buttons to adjust the brightness to your desired level. Some models also allow you to change the color tone of the light, which can be done by pressing the Left or Right buttons. For a more dynamic look, enable the Color Cycle feature, which gradually transitions through different hues. Additionally, you can set a timer for the ambient light to turn off automatically after a specified period. Press OK to save your preferences. The LED indicator will flash to confirm your settings have been saved. Experiment with different settings to create the perfect ambiance for any occasion, whether it’s a cozy evening or a festive gathering.

Troubleshooting Common Issues
If the remote fails to respond, ensure batteries are installed correctly and not depleted. Check for obstructions between the remote and fireplace sensor. Reset the remote by removing batteries for 30 seconds. Refer to the manual for additional solutions to resolve connectivity or functionality problems.
7.1. When the Remote Fails to Respond
If the Real Flame remote control stops responding, start by checking the batteries. Ensure they are installed correctly and not depleted. Replace them with new ones if necessary. Next, verify that the remote is paired correctly with the fireplace. If the issue persists, check for any obstructions between the remote and the fireplace sensor, as direct sunlight or other objects may interfere with the infrared signal.
Reset the remote by removing the batteries for 30 seconds, then reinsert them and test the functionality. If the problem continues, ensure the fireplace is turned on and the receiver is functioning properly. If none of these steps resolve the issue, consult the user manual or contact Real Flame customer support for further assistance or potential replacement.
7.2. Addressing Display Malfunctions
If the Real Flame remote control’s display is malfunctioning, start by ensuring the batteries are fresh and properly installed. Weak or incorrect battery placement can cause display issues. If the problem persists, check for any dirt or debris on the remote’s buttons or screen, as this can interfere with functionality. Clean the display gently with a soft cloth to remove any obstructions.
If the display is dim or unresponsive, verify that the ambient light feature is not interfering. Adjusting the ambient light settings may resolve the issue. Additionally, ensure the remote is within range of the fireplace sensor and there are no obstructions blocking the infrared signal. If the display still does not function, reset the remote by removing the batteries for 30 seconds, then reinstall them and test the display again. If none of these steps resolve the issue, consult the user manual or contact Real Flame customer support for further assistance or potential repair.
Safety Precautions
When using the Real Flame remote control, it’s essential to follow safety guidelines to ensure optimal performance and prevent potential hazards. Always keep the remote control out of reach of children and pets to avoid accidental activation or damage. Ensure the remote is not exposed to direct sunlight or extreme temperatures, as this may cause malfunctions.
Regularly inspect the remote control for signs of wear or damage, such as cracked buttons or a loose battery compartment. Replace batteries with the correct type and polarity to avoid leakage or explosion risks. Avoid using the remote near water or in humid environments, as moisture can damage the internal components. If the remote is not functioning properly, disconnect the power supply to the fireplace before attempting any repairs.
Never attempt to disassemble the remote control yourself, as this can void the warranty and lead to electrical hazards. Always refer to the user manual or contact a certified technician for assistance. By following these safety precautions, you can enjoy a safe and reliable experience with your Real Flame remote control.